First, buy one of these parts off of Amazon. Don’t question it. It’s $12. Do it. As someone who fought this code for months, did everything else listed in this, including testing this part and it seemingly working, changing this part fixed it. There’s a very good chance you can buy that, replace it, and never worry about this again. But if not, I’ll go through other steps and explain what this code means.
P0106 - Manifold Absolute Pressure Sensor Signal Out of Range
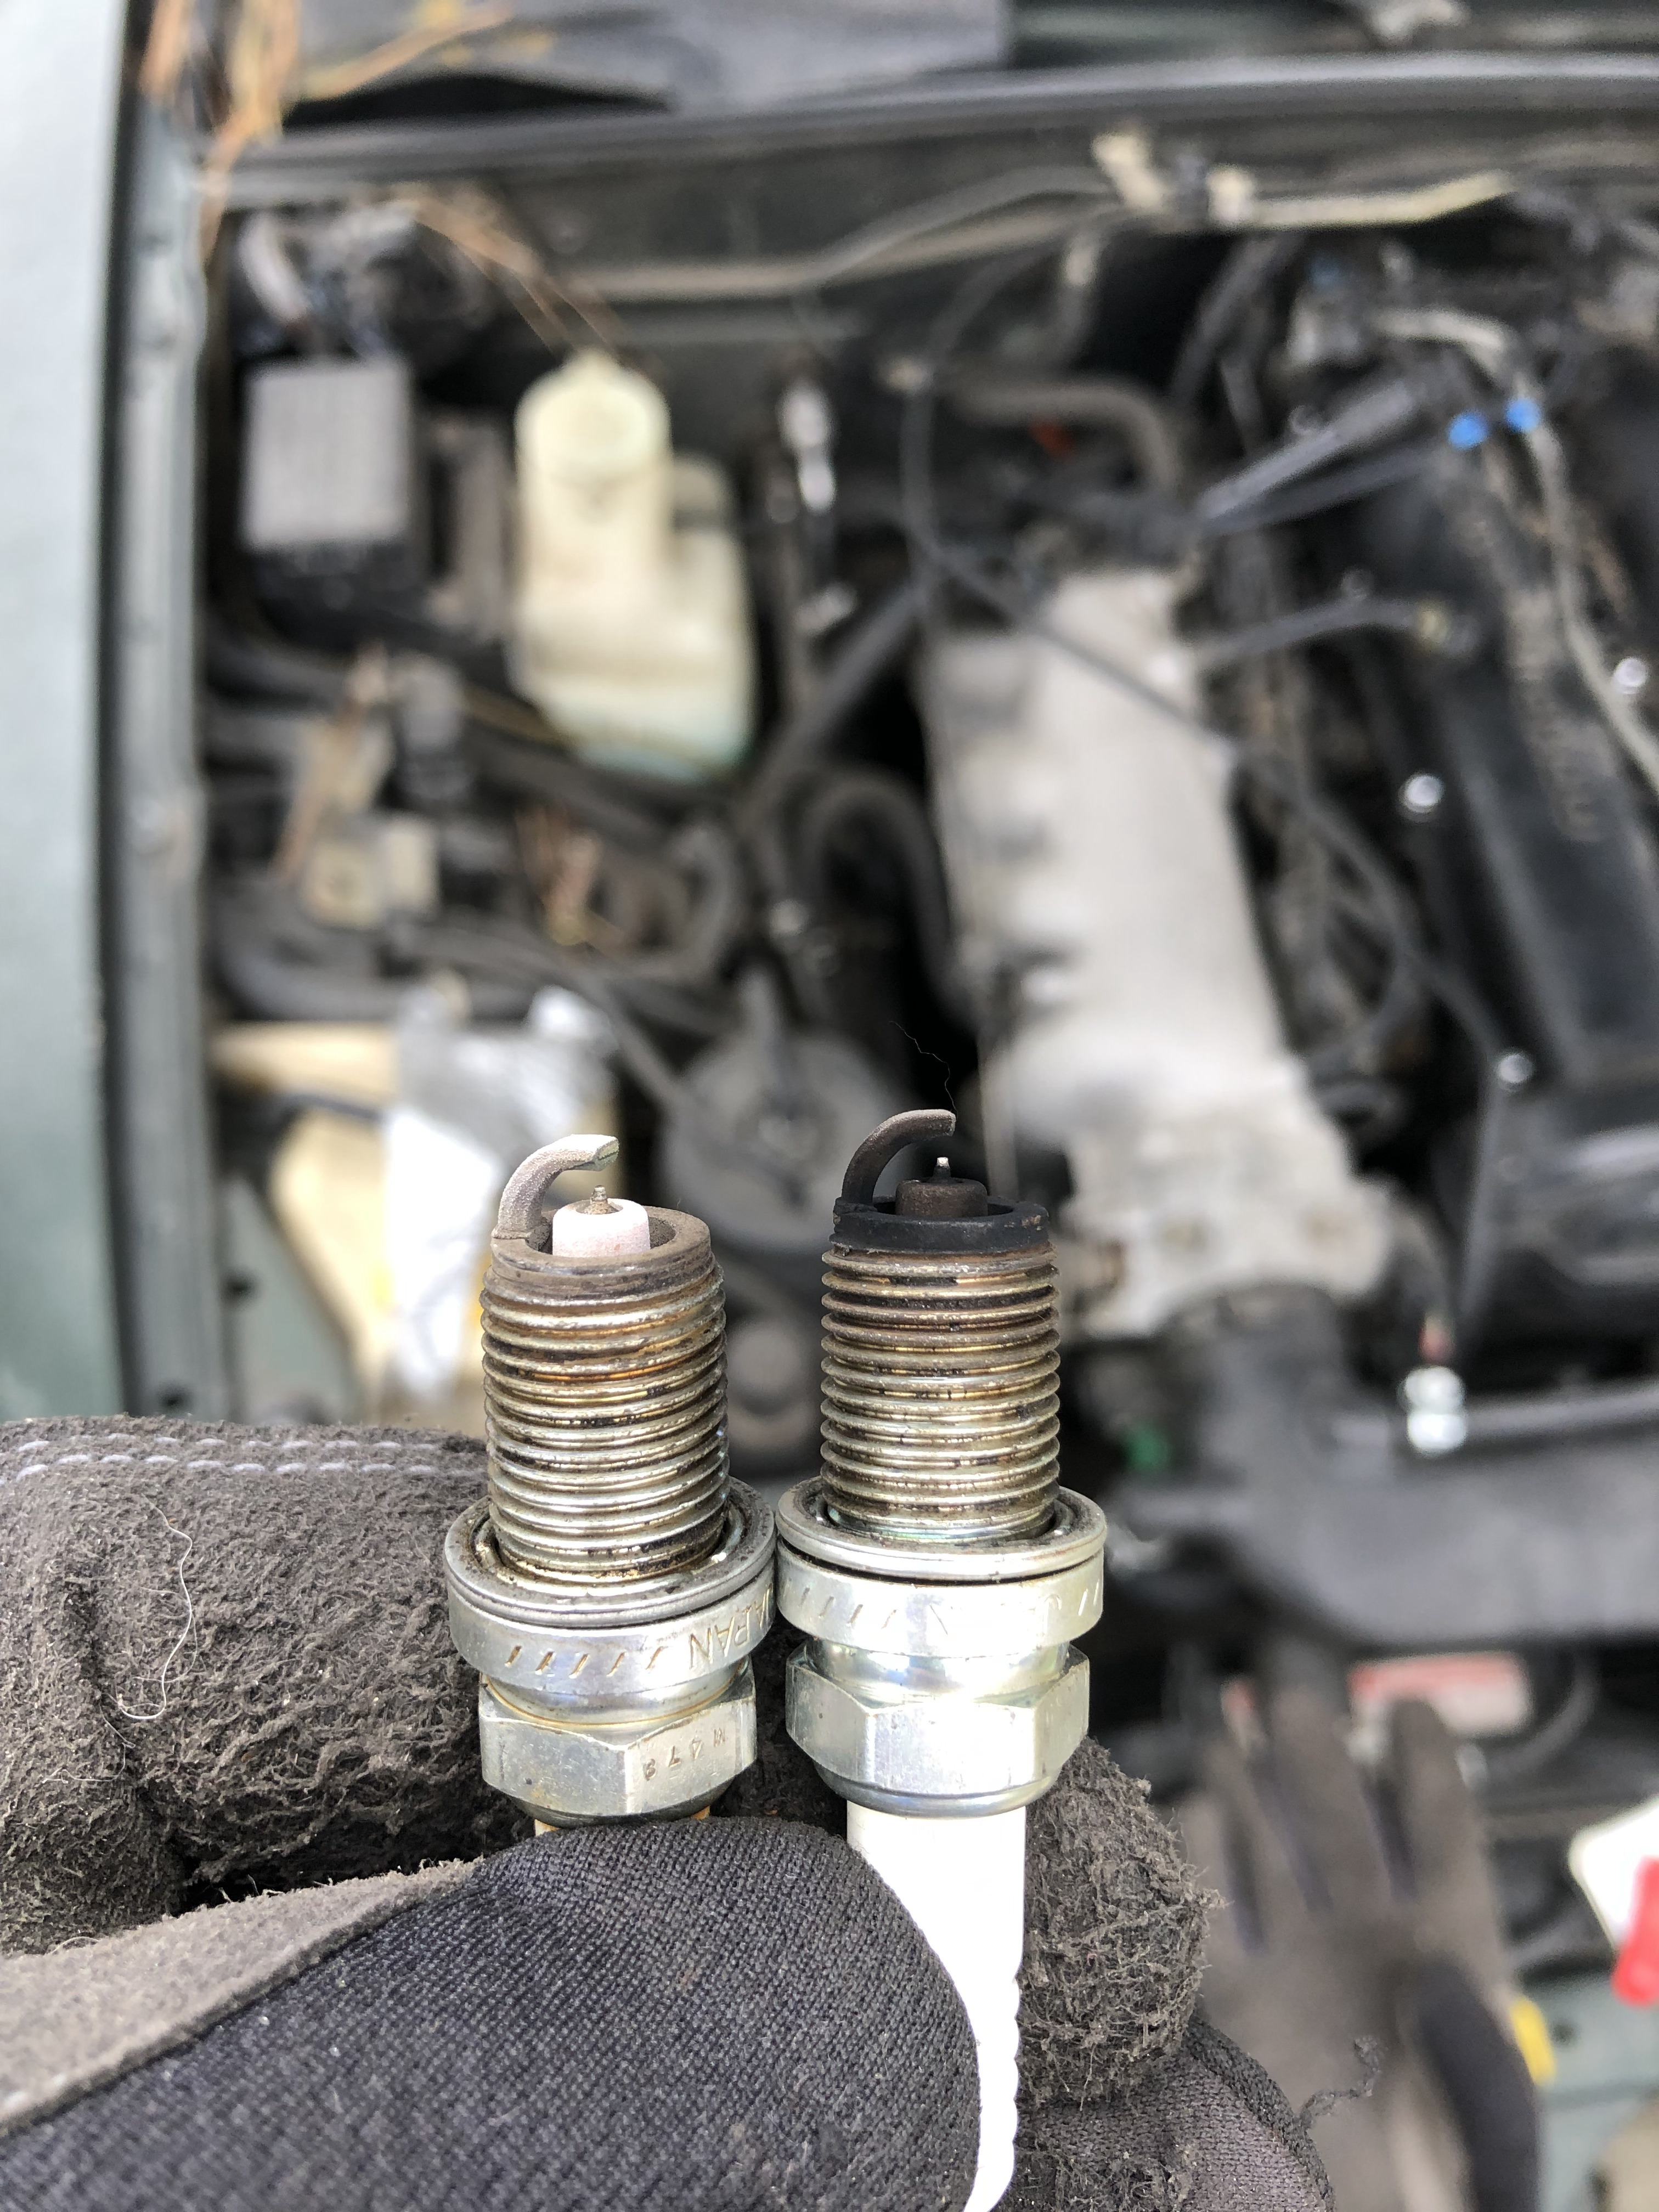
So our MAP sensor is out of range. But wait, don’t Miatas use MAF sensors and not MAP? Sure do, but NB Miatas have something called a boost sensor. For our cars with zero boost. This is the MAP sensor. It’s used to control the EGR.
Testing the boost/MAP sensor
The boost sensor connects to the boost solenoid (that part I linked to before) which regulates the air going into this sensor. One simple way to see if your boost sensor is working is by bypassing the boost solenoid and running the vacuum line directly from the manifold to the sensor. Your idle should be significantly higher than normal if it’s working.
If it didn’t change, don’t go buying that sensor just yet. You might have a clogged port. And if it did change, you still might have an occasionally clogged port if the code is inconsistent at turning on.
If you’re trying the quick fix to not clean it, try switching the vacuum line running to the solenoid from the lower manifold port to the port on the top of the intake that is currently capped. Remember to cap the port you just pulled that line off of, or you’re just going to have a vacuum leak.
With the solenoid still bypassed, see if your idle has changed. If it has, it likely means your bottom port is clogged up. If it didn’t, you could still have a clog in your vacuum line, and boost sensor might still be fine. So I would still recommend replacing the vacuum line before going out and dropping a bunch of money on a sensor that could be fine.
Cleaning the intake manifold
This is the first and cheapest step. Get a few cans of throttle body cleaner and follow these instructions:
https://www.miata.net/garage/manifold/index.html
Make sure all the ports are clean. Also, make sure that solenoid/sensor hose port is clean. It is not part of the upper half of the intake you just pulled off.
While the upper intake is off, clean the EGR on the back too. You can also clean out the throttle body and idle air control on the front.
When putting it all back together, replacing the gaskets would be a good idea. They only run about $15 total for all of them from O’Reilly or similar local store. Fixing this code is about vacuum, and a vacuum leak from a gasket is still possible.
Replacing the Vacuum Lines
Some places sell kits that include all the vacuum lines. These aren’t cheap and might take a while to get to you. Replacing them piecemeal by matching sizes with random fuel/vacuum lines at the auto parts stores is the route I went. While you’re at it, buy some hose clamp sets to replace the not great, plier hose clamps that are OEM. If your car is like mine, you’re probably missing a few anyway. The hose clamps are also useful when the hose sizes aren’t the perfect size, which if you’re eyeballing it at the parts store, they’re not going to be.
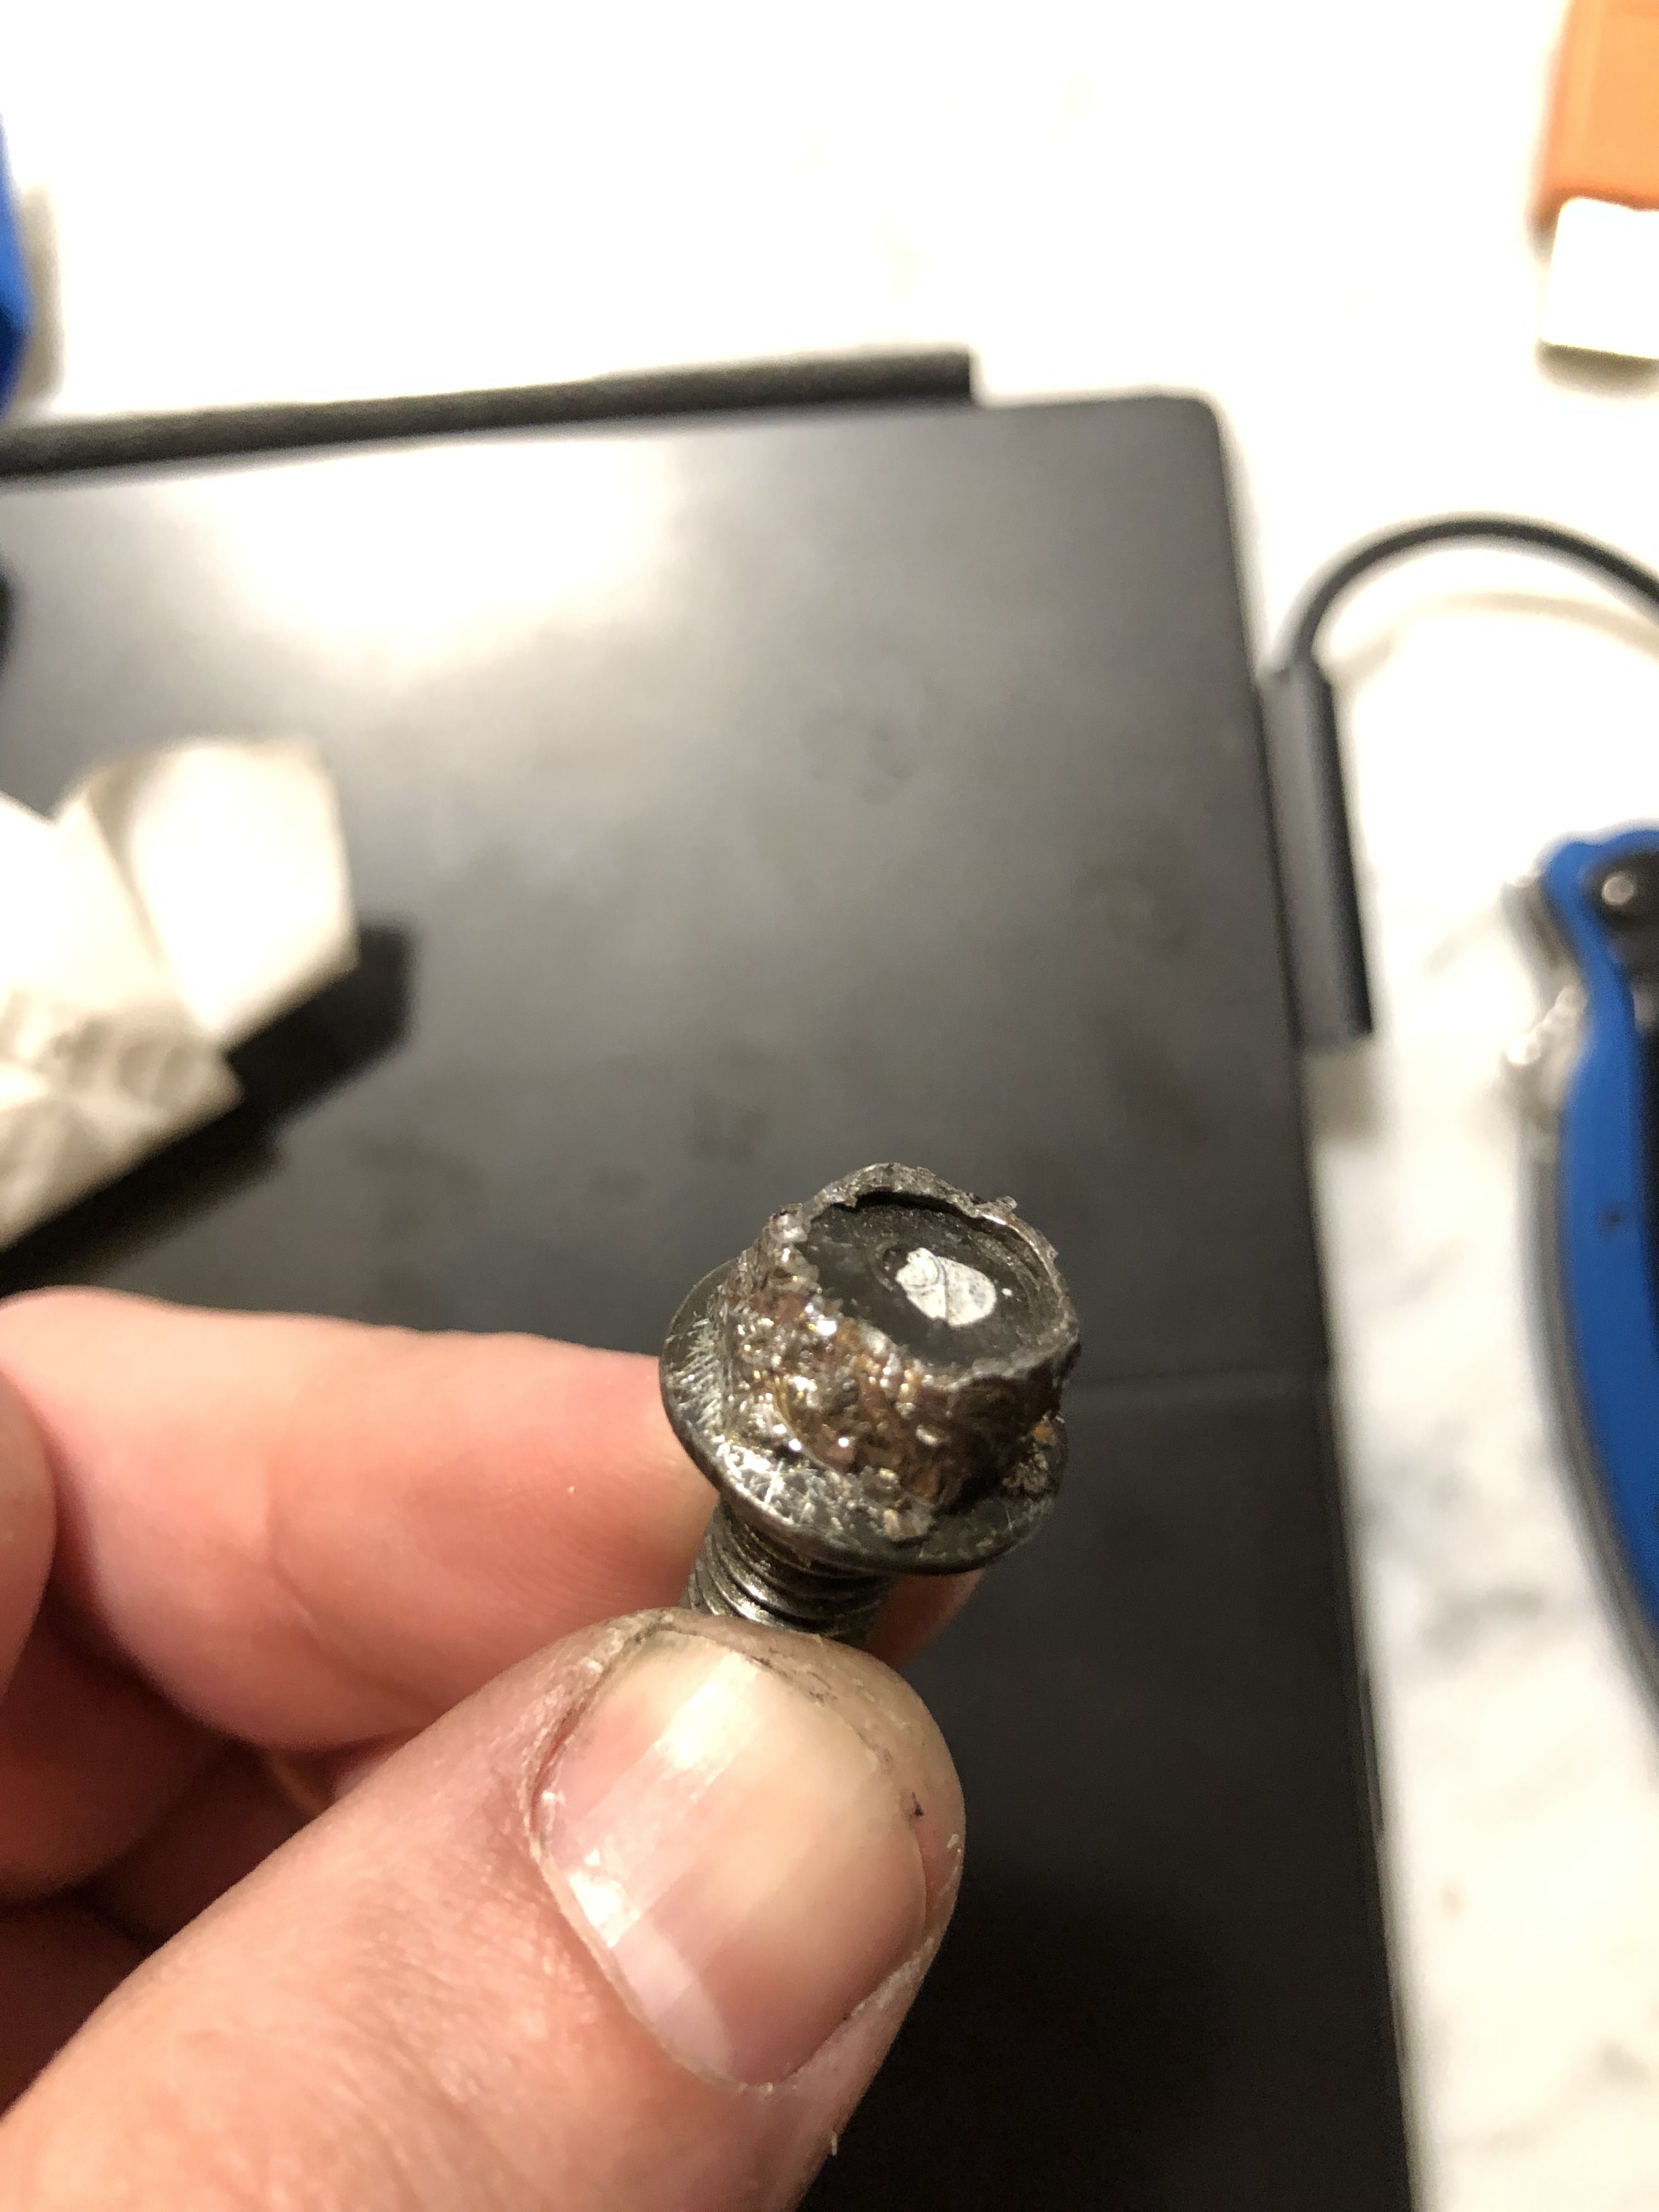
During this, also replace the PCV valve and the PCV valve grommet on the valve cover. Buy the correctly sized one, Amazon has it for $4. The “compatible” ones that the autoparts store might try to sell you are not correct, and will cause a vacuum leak.
One thing to note replacing these hoses, the brake booster vacuum line has a check valve in it. Makes sure to pull it out of the old hose and put it in the new one the correct direction. It’s very easy to not notice this.
Finally, once that’s done. Reset the check engine light once more. Drive around and hope for the best.
Next Steps
If it still is showing up, and you didn’t get the boost solenoid, buy it now. If you did, go back to the start and test the boost sensor/MAP again by bypassing the solenoid and maybe biting the bullet and buying the sensor. Most of the forums strongly recommend only getting the OEM for that sensor.